What are the Best Bosses in DOOM: The Dark Ages?

Bosses in Doom: The Dark Ages come in different flavors. Some can be taken out without breaking a sweat, while others will put your attacking and defensive skills to the test. A few rely on brute strength, throwing themselves at you with zero finesse. Others mix things up with mechanics that make you stop and actually think mid-fight.

Related
10 Best Games to Play if You Love Doom: The Dark Ages
Need a break from demons, but still crave violence? If you love DOOM: The Dark Ages, then you’ll enjoy these games too!
To defeat these bosses, you don’t just shoot your way through. Sometimes, you have to watch, react and change your approach on the fly. This ranking is about how difficult it is to take down each boss. It’s about how much room you really have to mess up and how fast things can fall apart if you don’t play it smart. That’s what puts one boss above another here.
7
Komodo Champion
Mixes Fast Melee Attacks with Ranged Shots
This thing mixes fast melee attacks with long-range shots, so you’re going to need sharp reflexes and some patience to survive. It rushes in with quick melee combos. The key thing to watch is the follow-up slash that comes after a horizontal swing. Its weapon glows right before this hit and that’s your cue. That glowing strike is a Hell Surge attack and you can parry it.
Related
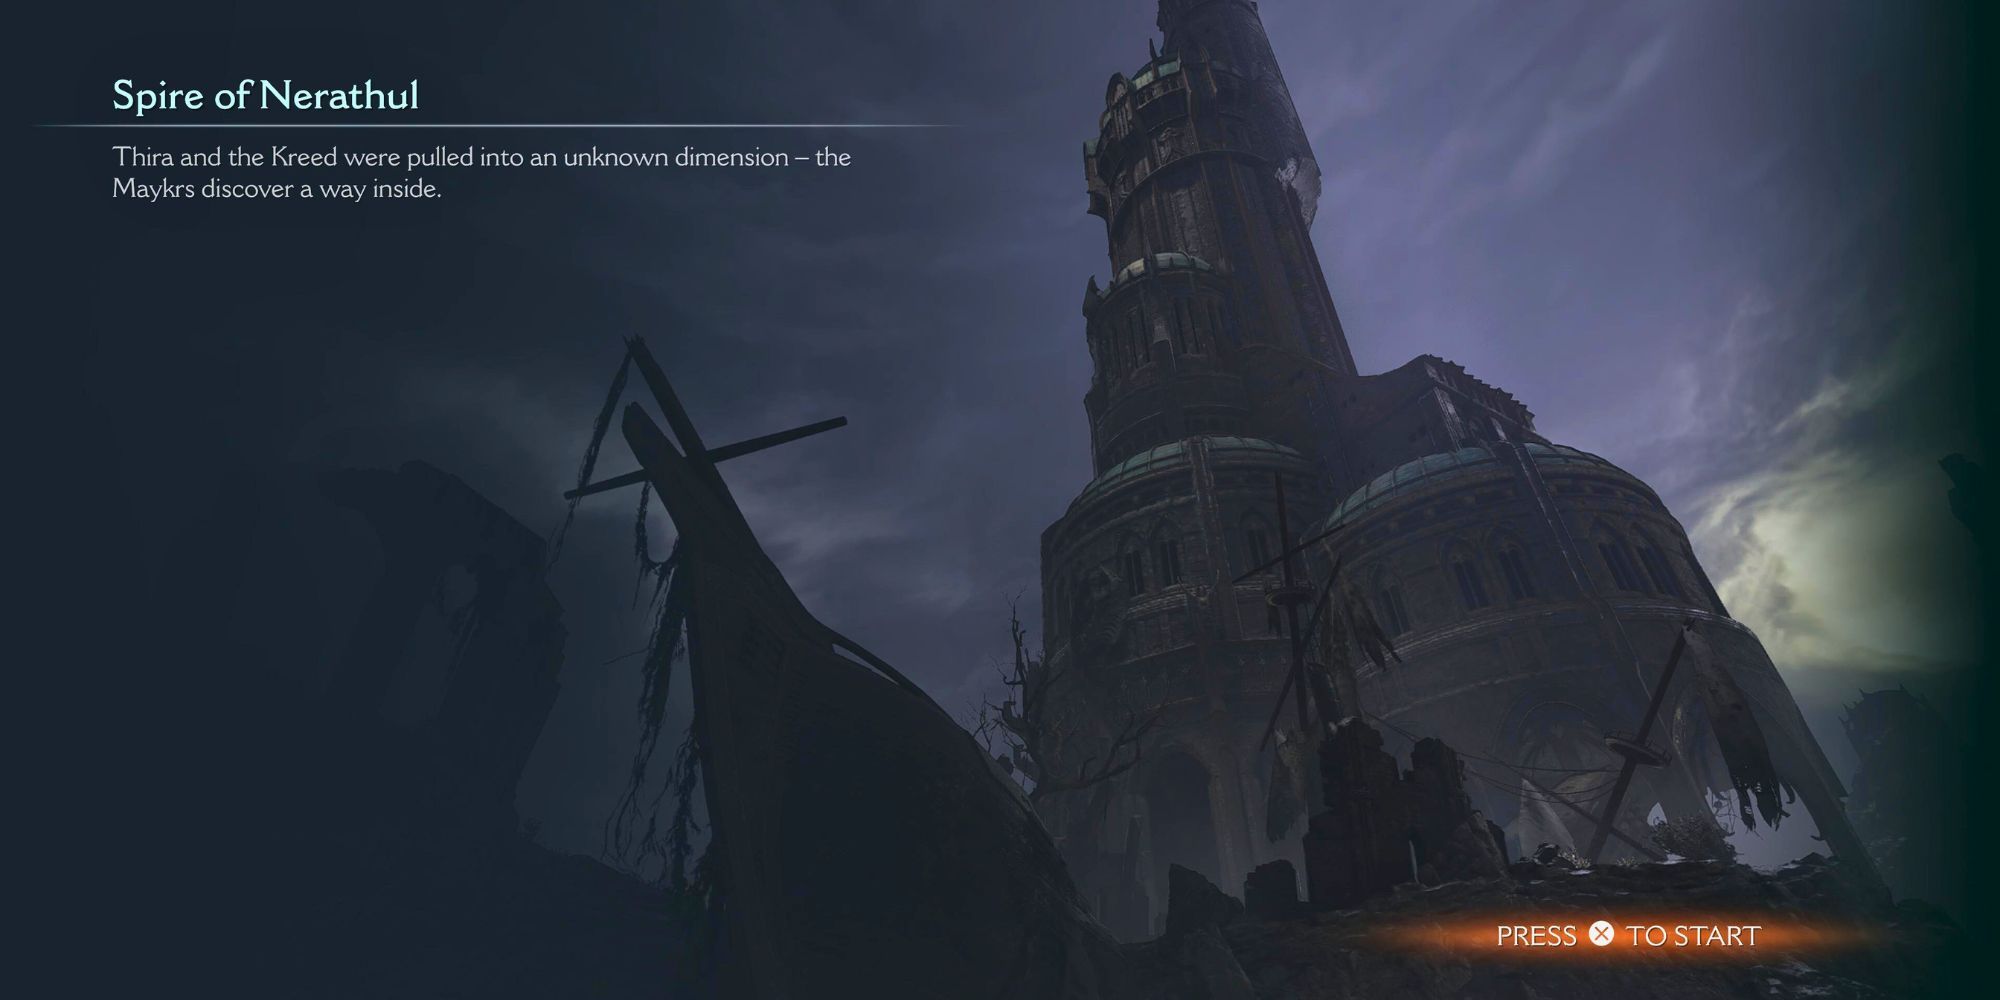
Doom: The Dark Ages – All Chapter 14 (Spire of Nerathul) Collectibles
Where to find every secret and collectible in the Spire of Nerathul level in Doom: The Dark Ages.
Once it’s had enough of up-close fighting, the Komodo Champion backs off and starts spraying projectiles at you from a turret mounted on its back. At close range, this gets hectic fast, so your best move is to keep some distance during this part. Use long-range weapons like the Impaler to keep the pressure on until it moves in again.
6
Vagary Champion
Armored Spider Demon, Requiring Parries to Stun and Expose Weaknesses
The Vagary Champion shows up at the end of Chapter 4, deep in the Sentinel Barracks. You’ll know it when you see it because it’s a huge armored spider-demon decked out in gold. This boss is your first real introduction to what the game calls “Champions,” enemies that take way less damage than usual, so you can’t just rush in and hope for the best.
The fight kicks off with the Vagary Champion using a few key attacks. It’ll lunge at you with a melee dash that’s powered by green Hellfire. That’s the one you want to focus on because you can parry it. Every successful parry builds up a stun meter under its health bar. Fill that bar and you’ll knock it into a vulnerable state. When that happens, its abdomen and legs become exposed, and that’s your chance to go all-in with your strongest weapons. This moment doesn’t last long, so don’t waste time.
5
Agaddon Champion
Shielded Boss That Forces Close-Range Melee Combat
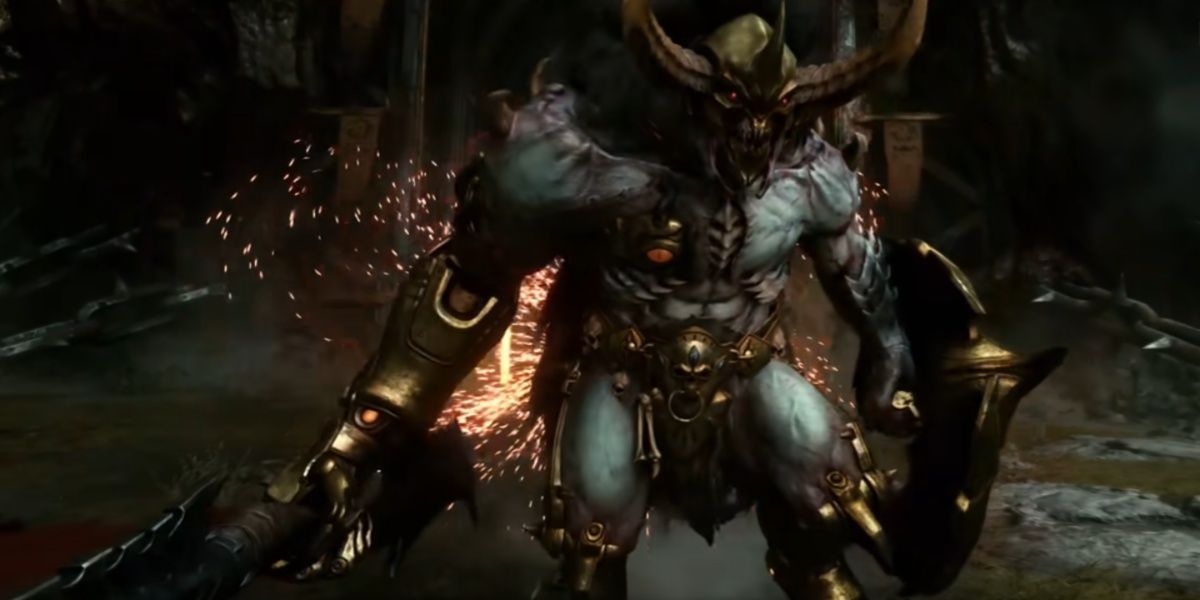
The Agaddon Champion isn’t bothered about flashy ranged attacks or giant explosions. It’s a grounded, close-quarters brute that wants to get in your face and beat you down with a shield and a series of nasty melee combos. You’ll run into the Agaddon Champion at the end of Chapter 8 in the Abyssal Forest. At first it hides behind a shield and fires a few projectiles your way. You can’t do much damage while it’s turtled up, so you have to walk up and make it mad. That’ll force it to drop the ranged game and engage you in melee, which is exactly what you want. The fight really begins once it switches to full-on brawling.
Related
Review: Doom: The Dark Ages
Id Software’s foray into the Slayer’s medieval past may be the franchise’s most entertaining installment yet.
The main thing to look out for is a string of Hell Surge attacks, which are quick melee strikes laced with Hellfire. These are parryable and that’s the entire point of this fight. You’re not supposed to just dodge and shoot; you need to time your parries to open the boss up. Each successful parry chips away at its composure, and once it’s staggered, that’s your green light to unload. Weapons like the Super Shotgun work well in that stun window. Just make sure you stay close enough to keep the pressure on, but not so close you get caught in a combo when your parry timing slips.
4
Kreed Maykr
Two-Phase Fight with Shield Tricks, Drones and Bullet-Hell Attacks
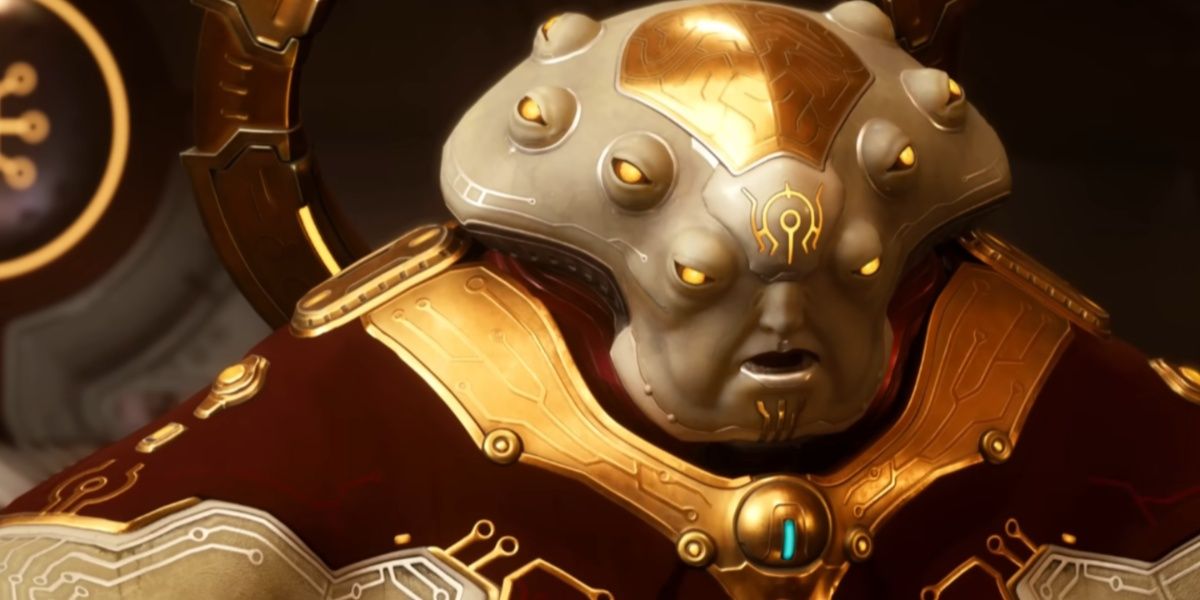
Kreed Maykr floats around the arena, tossing out attacks that fill the screen while hiding behind shielded orbs and sending drones after you. And it’s a two-phase fight, so be prepared. The first part of the fight is all about clearing out those annoying floating shields. They zap the floor with shockwaves and keep you boxed in, so pull out the Saw Shield and aim for them. Hitting the shields damages Kreed Maykr and can also take out nearby Maykr Drones at the same time. When those drones start showing up more often, using Shield Charge is the fastest way to get rid of them without breaking your rhythm.
Eventually, Kreed Maykr will stop playing around and start launching bullet-hell waves, which are those bright yellow projectiles that sweep across the arena. If you’re too close, it’s easy to get boxed in and clipped. So stay back and keep moving; it’s more about weaving between the shots than trying to power through them. Once phase two kicks in, Kreed gets a lot more aggressive. This is when you want to start focusing on its head, which is its weak spot. The Combat Shotgun works great here, especially if you time your shots between dodges. If Kreed fires an energy beam at you, try to parry it, and if you time it right, you’ll get a small window to hit back hard.
3
Ahzrak and Witch
Two Bosses Form a Tag Team Against You
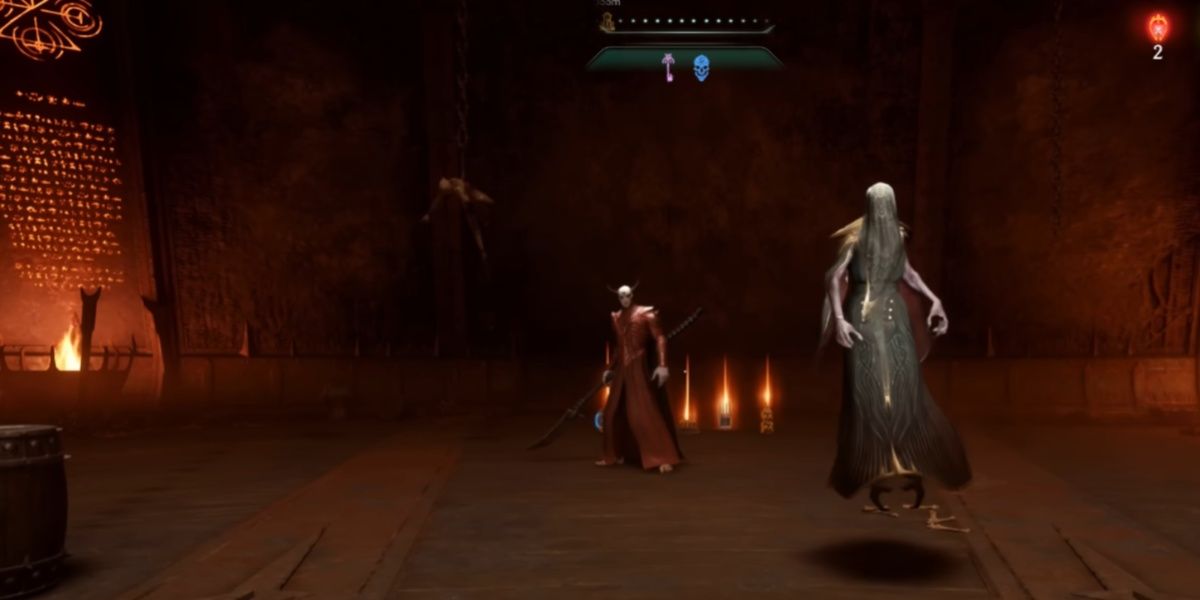
Ahzrak’s back with the same spear combos and hell energy swings you’ve seen before, and yeah, you still need to parry those if you want to survive. But this time, he’s not alone. The Witch joins in with her barrier magic and only one of them is vulnerable at a time. If she shields Ahzrak, you have to chase her down. If it flips, you go right back to him.
The problem is, she doesn’t just stand there. She teleports constantly and you’ve got to use your Shield Charge to catch her before she slips away. Once you’re in her face, weapons like the Impaler or Combat Shotgun will do the job. Just don’t waste time swinging at whoever’s invulnerable.
2
The Old One
Giant Spectral Brute That Uses Clones, Tentacles, and Massive Ground Blasts
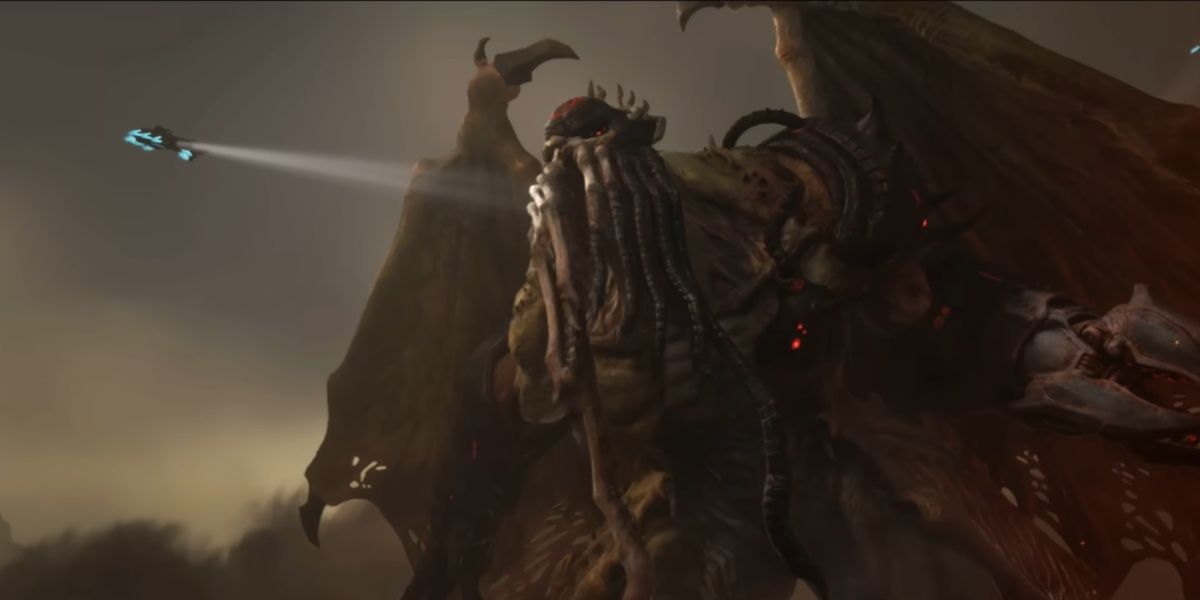
The Old One is huge, otherworldly and swings a massive mace like it’s trying to swat you off the planet. At first, it keeps things simple. Just some slow, heavy swings, a quick combo and the occasional lunging stab. Nothing too fancy. Then it starts messing with your head when the Astral Strike comes out.
Related
Doom: The Dark Ages: 10 Tips and Tricks We Wish We Had Known Sooner
Some secret features and pro-level strategies for your demon-slaying pleasure.
Once it hits half health, the fight stops being grounded. It floats up, stars start crashing down, and wherever they land, tentacles burst out of the floor. They’ll smack you around if you don’t move. The key is to keep an eye on the falling stars and avoid standing anywhere red. Once it’s near death, it throws one last tantrum. It turns all ghostly and invulnerable, then charges a huge purple explosion across the arena. The glow on the ground is your warning sign. Get out of the area immediately or you’re toast. After that, just keep calm, don’t get greedy, and you’ll wear it down.
1
Enhanced Ahzrak
Fast, Relentless Duelist with Wings and Fire Pillars
You run into Enhanced Ahzrak near the end of Chapter 21, right after The Old One. He welcomes you with quick dash attacks, wide sweeps and nasty Hell Surge strikes that you can, and absolutely should, parry. He also likes throwing Blood Bolts your way, which can’t be blocked, so you’ll need to dodge on reaction.
The second phase is when the wings come out. He doesn’t drop the melee game, but now you’ve got fiery pillars throwing out projectiles too. If they stay up, you’re dealing with nonstop chip damage, so slice through them with your Shield Saw whenever you can. In the final stretch, six flaming pillars rise and start hurling Hell Surge blasts in all directions. You can parry those blasts to destroy the pillars and top up your health. Then comes the Radial Spike move. Some are parryable, some aren’t, so you’ve got to watch your positioning and react fast.
DOOM: The Dark Ages
- Released
-
May 15, 2025
- ESRB
-
m
- Publisher(s)
-
Bethesda Softworks
- Engine
-
id Tech
- Multiplayer
-
Online Multiplayer
- Franchise
-
DOOM
Next
Every Shield Runes in Doom: The Dark Ages, Ranked
Some shield runes in Doom: The Dark Ages send lightning crashing down, while others summon daggers, turrets, or explosions.


