Unlocking the Frontline Base Gold Tiles in Shadow Labyrinth

When going forward through Shadow Labyrinth, you will encounter an area called the Frontline Base shortly after you’ve discovered the name of the planet. The Frontline Base stage is a section of the game that will lead you to the next main boss of the game. Once you have made your way through the winding caverns and into the main area of the base, you will have to collect several Gold Tiles to make your move and fight the boss.

Related
New Gameplay Drops for Space Adventure Cobra – The Awakening
Microids just put out a hearty helping of gameplay for developer Magic Pockets’ adaptation of the classic 80s sci-fi anime.
Finding The Gold Tiles
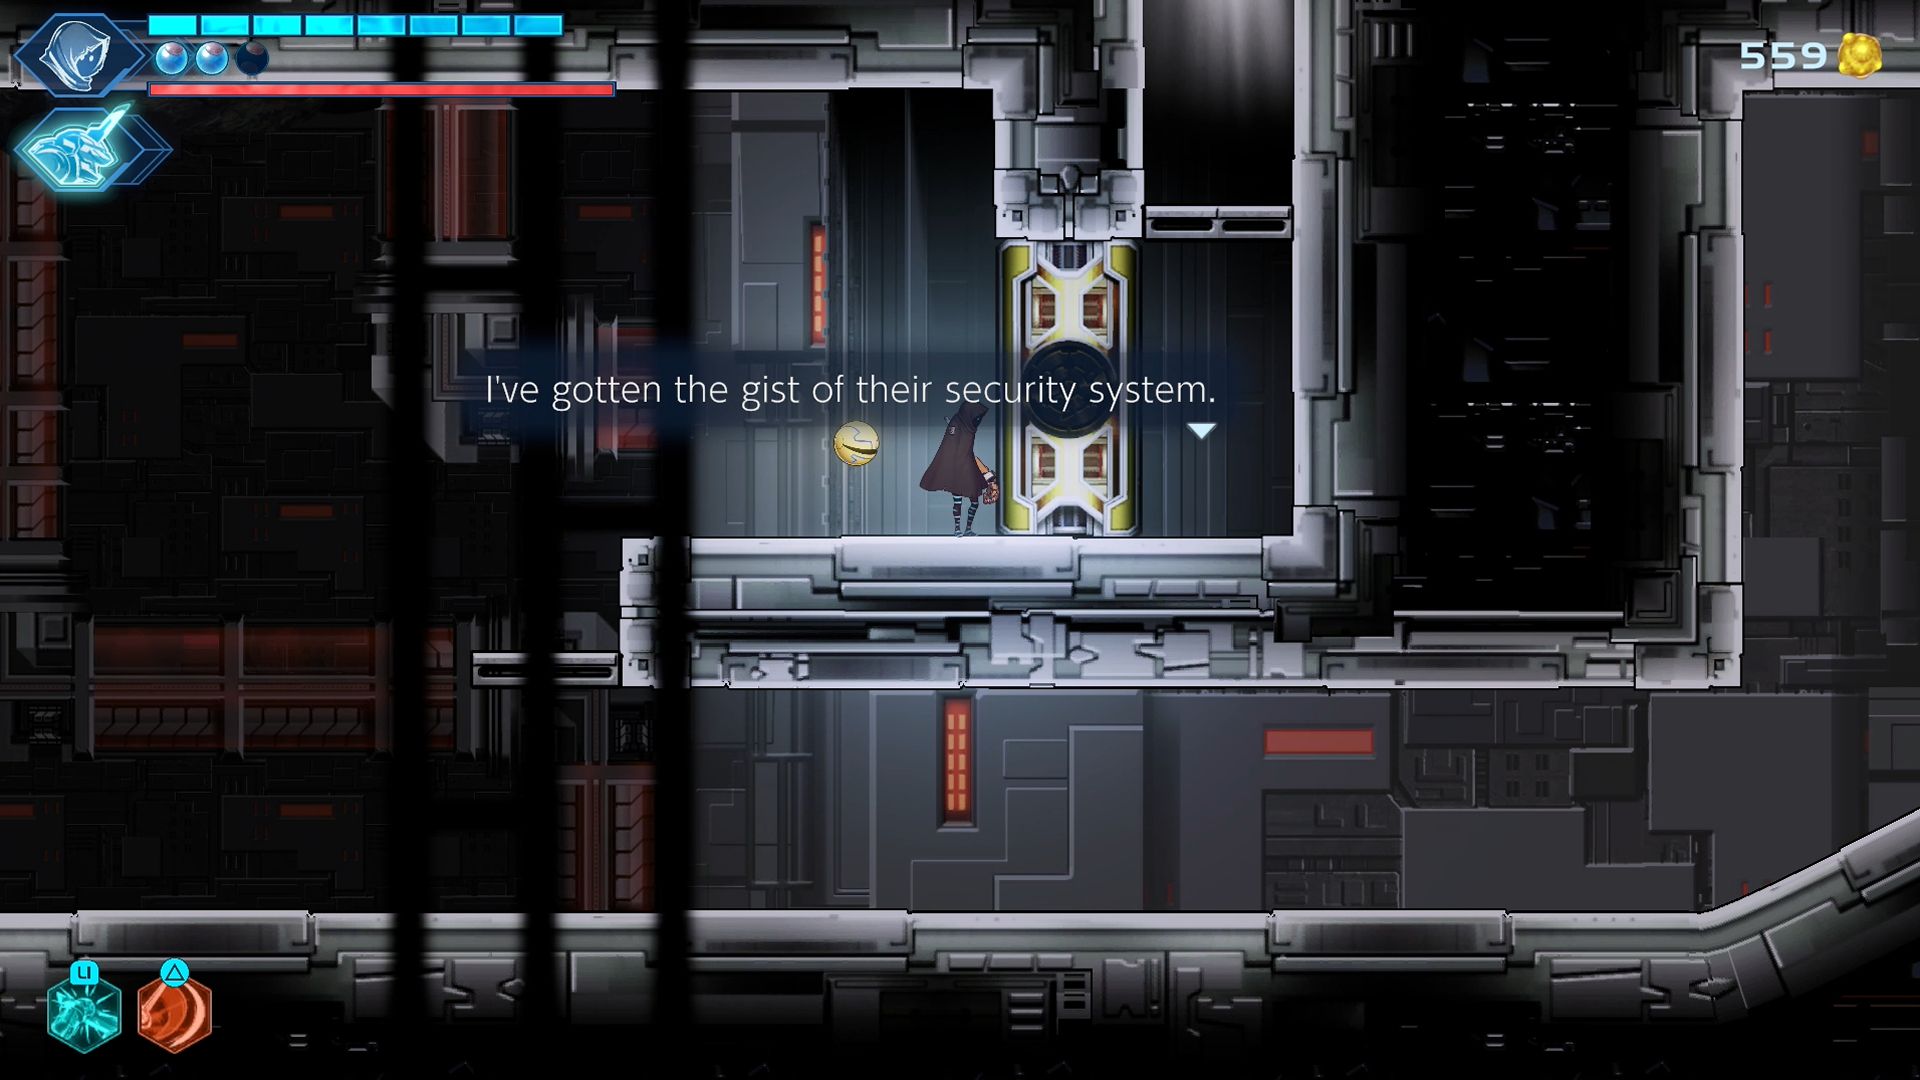
When you first enter the Frontline Base, you will see a door with yellow highlights. This door is inaccessible right away, and if you venture down the path under the door, you will find a save point. The save point will have an elevator you can take nearby, and it will be where you need to go. After you’ve taken an elevator down, you will see three exits to the room with the elevator. Each of the rooms will act as a new type of trial that you will need to complete to gain access to the yellow door, and can be done in any order.
The Left Path
When going along the left path, you will encounter another cave similar to the one that you had gone through to get to the base. Here you will see a boulder that you’ll need to roll, and a vine that you need to swing from. What you’ll need to do is push the boulder, jump onto it while it is rolling down the spikes, and then jump up on the vine to swing to the overhead path. When done correctly, you can pull the boulder from the lower path and use it as an elevated platform to jump to the next set of vines that are too high to normally jump to.
The next thing you’ll see is another platform with a tunnel blocked by a boulder. You’ll need to pull the boulder out and switch sides with it, leaving it as-is for the moment. Going further to the left from here, you will see two paths, only one of which is relevant at this point in the game. The lower path is where you will want to go, as the upper path is somewhere you will want to revisit later on when you get the grapple hook upgrade. This lower path will have another boulder to the right, and a Sparkling Stone for you to give to an NPC later on. Collect the stone and push the boulder off the ledge, and push it again into the spiked cave when it reaches the floor.
With this done, you can make your way back up to the boulder that you had moved around, push this one into the tunnel leading straight down, and jump down with it. This boulder will open a new path and give you access to a checkpoint as well. There will now be a path to the right, which has a shortcut to the main room and the main save point if you need healing. However, the path down is where you need to go.
Following the path down, you will need to take care of a few enemies that will be scattered on the floor and ceiling of the cave. But once you reach the bottom, there is another encounter where you’ll be rushed by infested enemies. After this encounter is over, you will be rewarded with Gold Tile A, and the room to your left will open and provide you with a teleporter back to the elevator room with the other paths to the remaining tiles.
The Bottom Path
When you are back in the elevator room, you can go back to the save point and heal if needed; otherwise, you can head down and begin the next trial. This path down is fairly simple and will require you to defeat several rooms back to back that are going to spawn enemies for you to defeat. Out of all the rooms, this is the easiest to handle quickly. Consume enemies to have your GAIA ready if it isn’t already available to you, and save GAIA for the later rooms. There will be 4 rooms total, with the last one having the toughest enemies in the gauntlet, and it is the best one to unleash your GAIA and eliminate the enemies quickly. After you’ve completed this path, you will be rewarded with the Gold Tile B item and can take the teleporter back for some healing and get ready for the final path.
The Right Path
Now for the final path, which might be challenging for some players as it requires quick and precise timing to dodge past beams at the start and for D-Lines later on, and you cannot use your GAIA to skip any difficult sections. However, first, you will need to navigate the initial section of the path. Dropping into the next section, you will see a panel that you need to activate, and if you stay in place, you will see an energy beam the length of the corridor attempting to block you from progressing. This beam will only activate after the panel is active and has a delay to it, so if you ground slide immediately after activating the panel, you can reach the end before the door closes and the beam activates.
After passing the start of this area, you will need to drop through the platform to your right, activating another panel that will lock another section of the hallway. As you drop further, you will encounter a platforming section featuring various permanent or timed beams. As long as you are patient and pass through the beams as they power down, and hop to the next platform before the beam is active, you will be fine. Activate the panel on your left when you’ve reached the top section and use the elevator to go down further into the stage.
The next portion of the path is a fairly simple platforming section with platforms that phase in and out. Be patient, and jump when the platforms are fully available to jump on and use. However, the next section will require quicker and precise jumps. When you’ve reached the following section, you will need to outrun and avoid beams that will follow you while you are doing these platforming sections. Thankfully, there is a checkpoint to give you healing at the start if you’re struggling with the timing, but keeping your composure and being safe with your jumps will get you through this section with relative ease.
To complete the final portion of this area and obtain the last Gold Tile, you will now be on D-Lines for the majority of it. At the beginning, you’ll have some simple obstacles to make your way through, but once you get to the section where you need to use a panel to unlock the western door, you will need to be a bit faster. This might take a few attempts, but the key is to use the floating portions of the D-Rails to avoid the spinning saws that will damage you along the way. The D-Rail section is timed, but you can take some damage from a saw or two, so long as you move quickly after the damage has been taken. When you get to the end of the D-Rails, you can do a jump over the ledge and enter the final room that will house the Gold Tile C item.
Now that you have all three Gold Tiles in your collection, you can return to the yellow door that had been locked previously, allowing you to move forward and explore the entirety of the section. Unlike the collection trials for the Gold Tiles, the next area will have plenty of enemies but much less platforming and D-Rail areas for you to push through. Always remain calm and remember to utilize your abilities. If something is too strong, and GAIA is available, never be afraid to use GAIA to take it down quickly.

Next
Review: Shadow Labyrinth
A dark twist on a classic game, as Swordsman No. 8 and PUCK enter uncharted territory in Shadow Labyrinth.

Shadow Labyrinth
- Released
-
July 18, 2025
- ESRB
-
Teen // Blood, Fantasy Violence
- Developer(s)
-
Bandai Namco Studios
- Engine
-
Unity
- Number of Players
-
Single-player


