What are the Hardest Trophies and Achievements in Death Stranding 2: On the Beach?

Some trophies in Death Stranding 2: On the Beach take a lot more effort than just finishing the story. The hardest trophies to get are not about beating bosses or finishing chapters; they live in the details. They are the kind of things you miss because you thought the game was done teaching you.
Related
S.T.A.L.K.E.R. 2: Heart of Chornobyl: 7 Hardest Achievements/Trophies And How To Get Them
Some of these are easier to get than you may think.
These achievements don’t care how many hours you’ve put in. They care whether you understand how this world works. Whether you noticed the structure you never built. Whether you remembered to S-rank a delivery no one asked for. Whether you figured out how to deal with a Catcher without blowing it to pieces. And if you’re chasing that final trophy, you’ll need a lot of patience, timing and a whole lot of backtracking.
8
Seasoned Porter
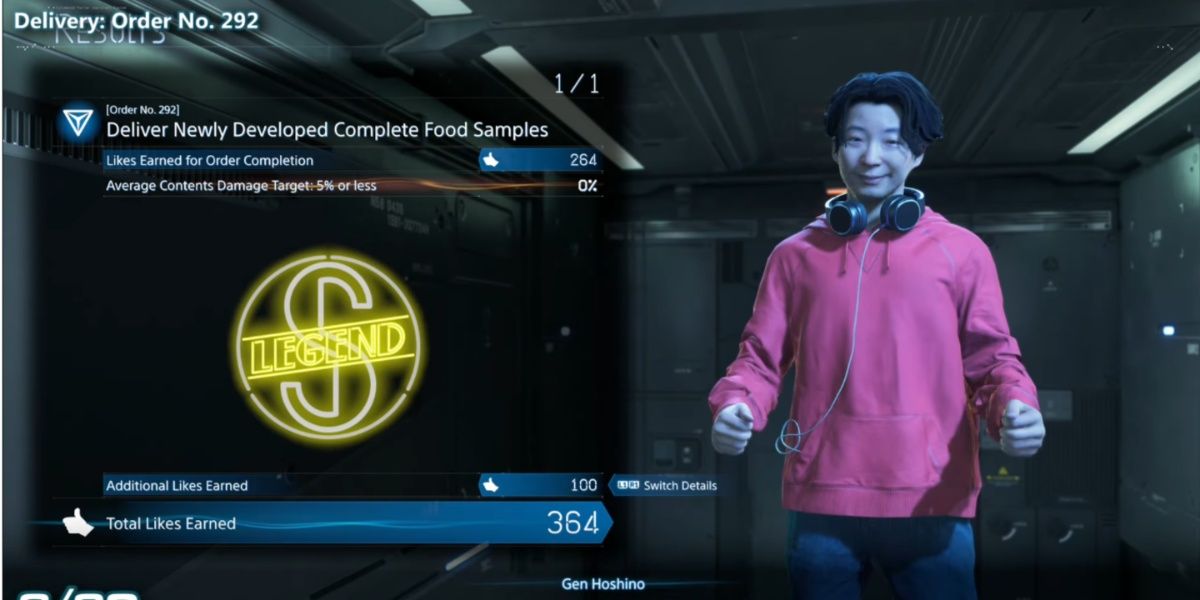
Get S-Rank on 30 Standard Orders on Casual Difficulty or Higher
The Seasoned Porter trophy requires you to earn S‑rank on a total of thirty standard orders. That breaks down into ten successful deliveries, ten recoveries of lost cargo and ten elimination or destruction orders. All of them must be done on Casual difficulty or higher. This task is tough because every delivery must be nearly flawless, there’s no room for cargo damage, no route mistakes and even tactical combat must avoid collateral damage.
Finding safe, efficient paths across rugged terrain, using tools like ladders and vehicles without dropping or breaking anything and facing enemies without compromising your delivery are some of the hardest things about this trophy.
7
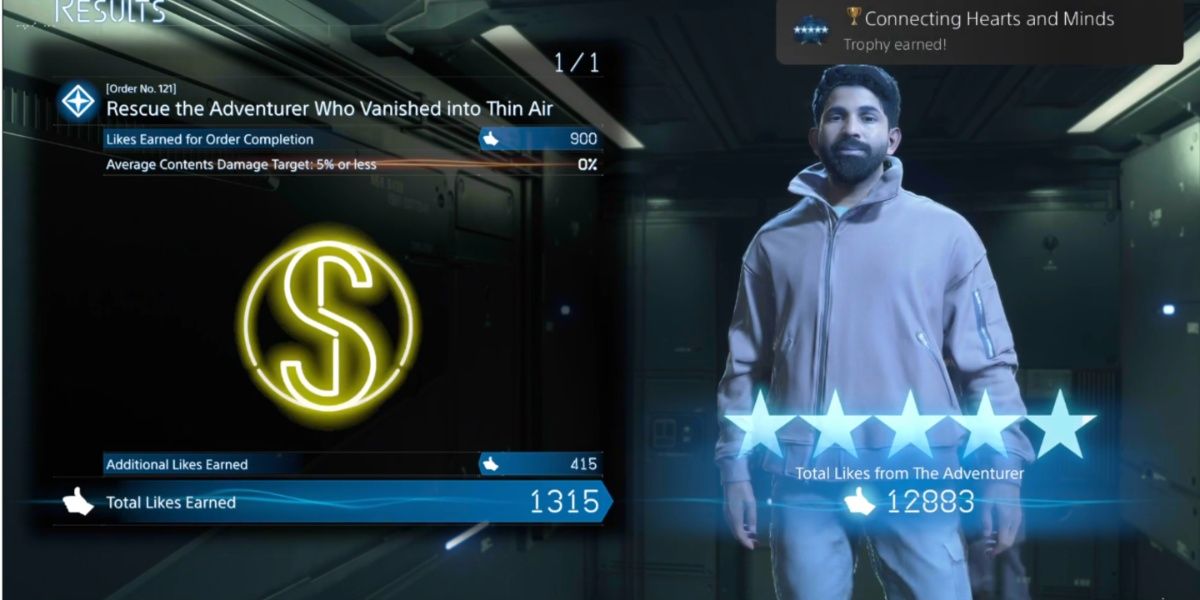
Connecting Hearts and Minds
Fully Connect Every Facility on the Map
This is a gold trophy that demands you reach 5‑star Connection Level with every facility across Mexico and Australia. That’s over forty sites! Converting connections into stars will have you delivering cargo, getting likes, placing online signs and building structures around each facility. So, this grind is enormous.
You’ll even have to repeat many deliveries to the same places just to earn more stars. Each facility needs consistent attention, so you’ll build roads, signs, shelters, zip lines, maybe even monorail extensions. Even small mistakes like a damaged box or forgotten construction can slow your progress.
6
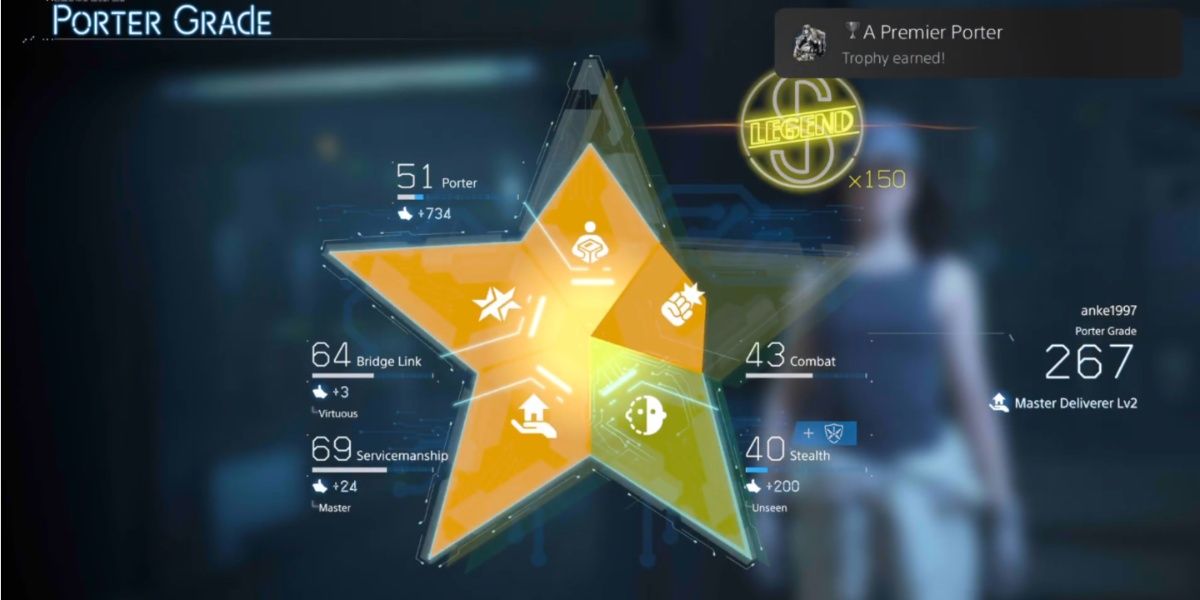
A Premier Porter
Reach Grade 40 in Combat, Stealth, Servicemanship, Bridge Link and Standard Porter
You earn this Silver trophy by reaching Porter Grade 40 in all five categories: Combat, Stealth, Servicemanship, Bridge Link and standard Porter. Each category has its own progression system. You’ll boost Combat by engaging enemies, Stealth by sneaking past zones, Servicemanship through timed deliveries, Bridge Link by sharing structures online and standard Porter through general delivery efficiency.
Related
Death Stranding 2: On the Beach – 7 Tips & Tricks We Wish We Knew Sooner
This is a list detailing vital tips and tricks to improve your Death Stranding 2 playthrough.
Hitting level 40 in every area means deliberately tailoring each mission to focus on low‑performing stats rather than just running standard orders. Because each stat requires different approaches, you have to constantly shift strategies. Sometimes it’s best to prioritize stealth runs, other times use weapons or complete time‑sensitive jobs.
5
Showdown at the Tar Lake
Defeat the Optional Giant Boss at the Tar Pit
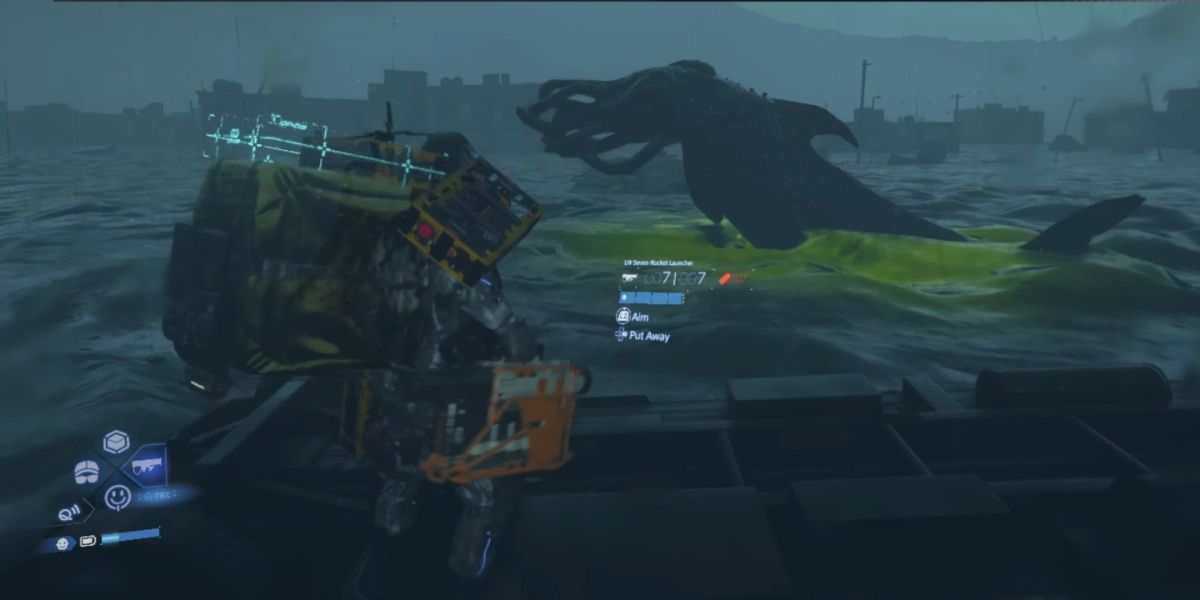
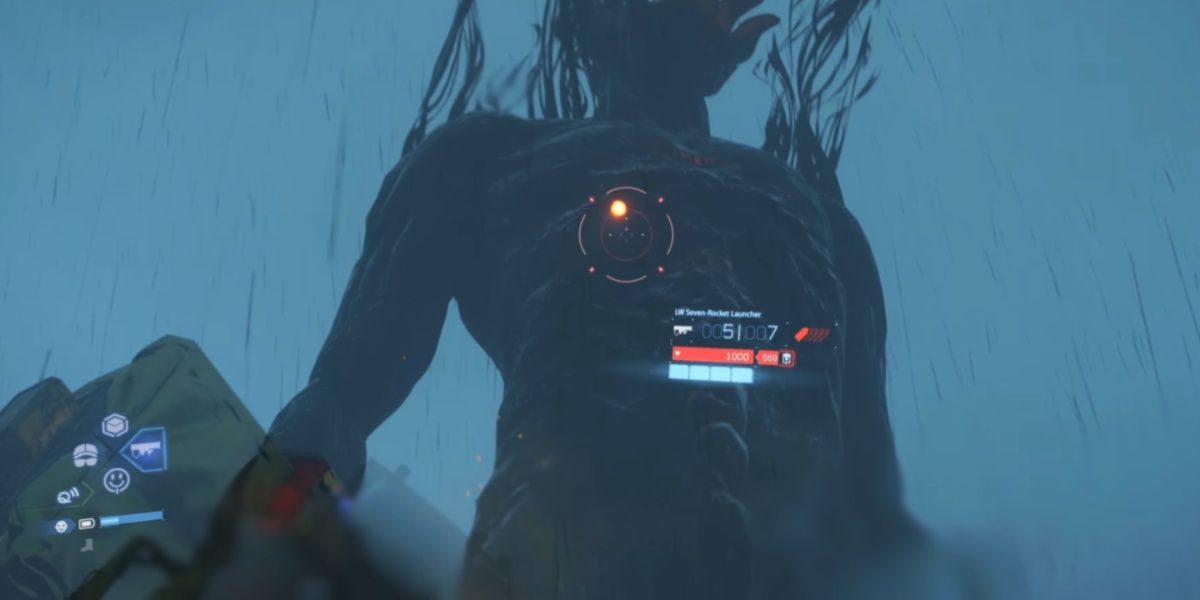
To grab the Showdown trophy, you must beat the Lord of the Tar Lake, a giant optional boss in one of the tar‑filled hazard zones. This is probably the most difficult silver trophy to get in the game because the boss fight is pretty tough. The Lord of the Tar Lake mixes powerful ranged arc attacks with melee charges and drags you into hazards. The terrain is your enemy too, as tar pools can slow you down, or you can even sink.
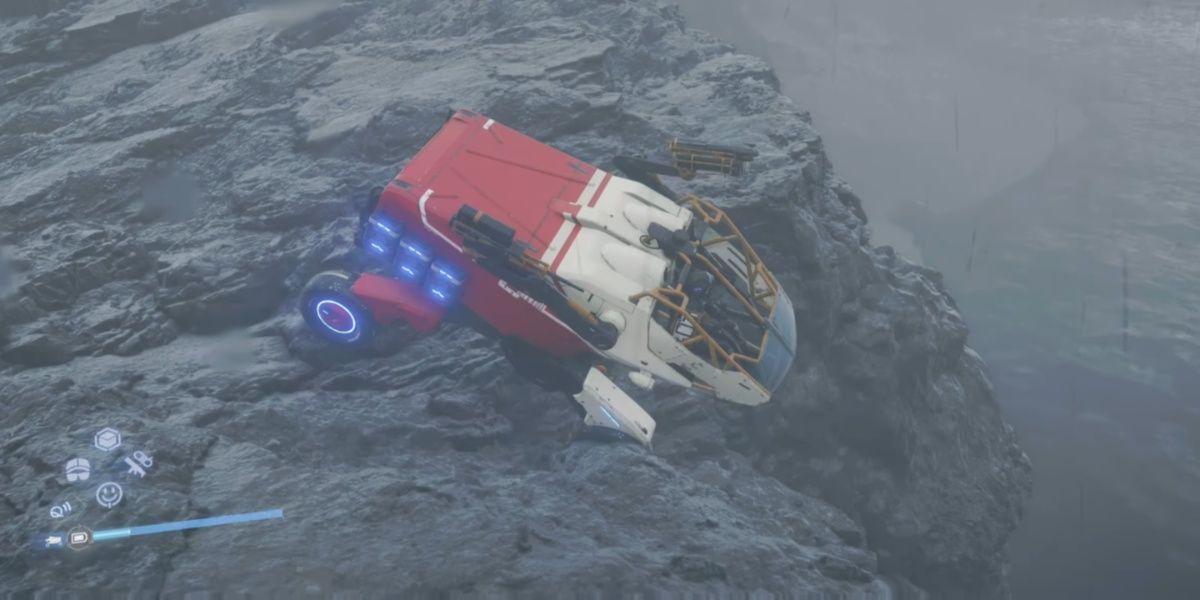
To win this boss fight, go in prepared: wear protective gear, pack high‑impact weapons, bring grenades and health tools. Watch its attack patterns closely, dodge heavy bursts and hit during openings. Pull it away from tar zones or bait attacks into safer areas. Using vehicles helps reposition you, but you have to park them carefully or winch yourself out if stuck.
4
Savior of Terminal Fort Knot
Protect the Fort and Stop a Voidout
This Bronze trophy unlocks when you prevent a catastrophic explosion called a voidout at Terminal Fort Knot. The game sets a stage in which BTs or enemies mass‑attack the facility and you must defend it fully until the event ends. That means you have to actively participate: not just stand by, but build defenses, clear attackers, rescue non‑combatants and contain the threat.
Any failure, such as letting the main structure fall or ignoring downed personnel, results in voidout and trophy miss. What makes this challenge tough is the timed pressure and unpredictable enemy mix. You have to stay alert, adapt weapons use and move efficiently around the fort.
3
The Scars Left by the Giants
Reach the Most Dangerous BT Zone
You can get this bronze trophy when you reach the BT nexus in the F3 Crater in late‑game Australia. That area is one of the most dangerous zones, as it’s packed with heavy BT swarms and environmental instability. Getting to the nexus means you have to find your way around muddy terrain, avoid BT detection and maintain stealth or combat skill. A single fall could damage your cargo or health, forcing a retreat.
You pull off this challenge, equip BT grenades, armor, stealth gear and use vehicles for safer passage. You might also want to clear out smaller BT clusters, use vehicle cover and scan with Odradek constantly. If you take a wrong turn or get spotted, your route can derail and delay progress.
2
Master Builder
Build Every Kind of Structure in the Game
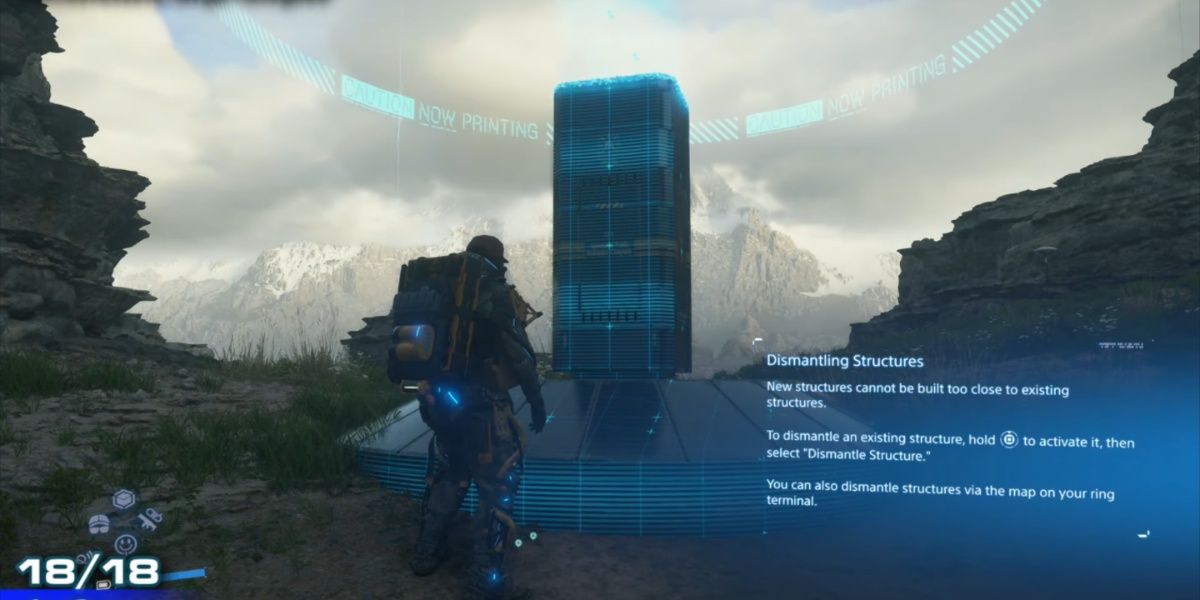
To earn the Master Builder trophy, you have to build every kind of structure in the game at least once. This means using your PCC to make all structure types, including things like bridges, zip-lines, generators, cargo catapults, and safehouses. As if that’s not enough, you’ll also need to craft and place tools like ladders, climbing anchors, and special gadgets such as electric traps or deployable shields. Even the signs you leave behind count toward this trophy.
Related
How to Repair Transporter Boots in Death Stranding 2: On the Beach
Sometimes you just need to throw away perfectly good shoes in Death Stranding 2.
I know some people might get confused because certain structures are built automatically during the story, but those don’t count. You have to build everything yourself from scratch. It can be easy to miss one or two structures without realizing it, especially the smaller or less useful ones. That’s why it’s one of the hardest trophies in the game. You’ll need to unlock blueprints from different characters across the map and gather the right materials to build everything fully. Just placing the base of a structure isn’t enough. You must complete each one fully by donating the resources. The game doesn’t track this for you, so unless you’re keeping close notes, it’s easy to think you’ve built them all when you haven’t.
1
BT’s Best Friend
Capture a BT Without Getting Killed
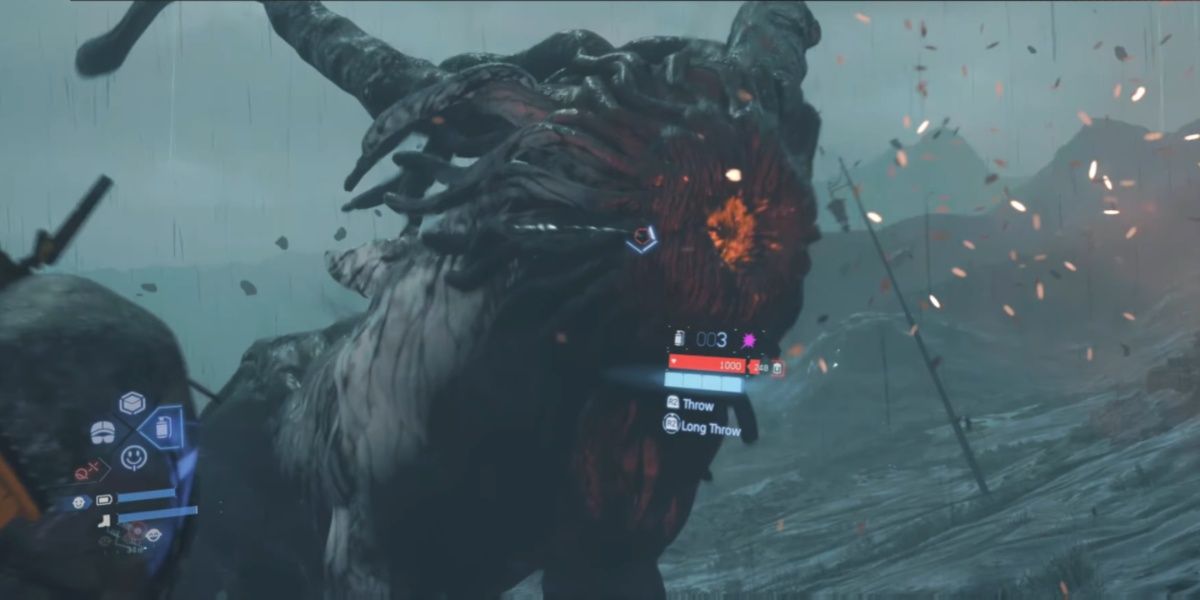
BT’s Best Friend is one of those trophies that sounds simple but takes real effort and timing. You don’t just have to fight a large BT, you have to capture one, and that’s a different kind of challenge. First, you need to unlock a special item called the EX Capture Grenade. You can’t get it until you meet and connect the Metagenomicist character to the Chiral Network. Once you’ve done that and completed Order 33, the grenade becomes available for crafting. Then comes the tricky part. You need to get pulled into a boss fight with a large BT, also called a Catcher. These battles only happen in certain areas where BTs are active. To trigger it, let the smaller BTs grab you and drag you into the tar. That’s where the Catcher shows up.
During the fight, you need to deal enough damage to weaken it until its health drops low. When that happens, it’ll open its mouth and start glowing, and that’s your moment. Throw the EX Capture Grenade into its mouth right at that point. If you do it too early or miss the timing, the grenade won’t work, and the fight will end with no trophy. When you succeed, the BT will turn into a crystal, and your trophy will pop. What makes this difficult is how precise the timing is and how easy it is to miss your chance. You might end up fighting it multiple times before getting it right.

Next
8 Games to Play if You Love Death Stranding 2: On the Beach
If you enjoyed handling the hostile world of Death Stranding 2, these games have just as much fun and danger to deliver.

